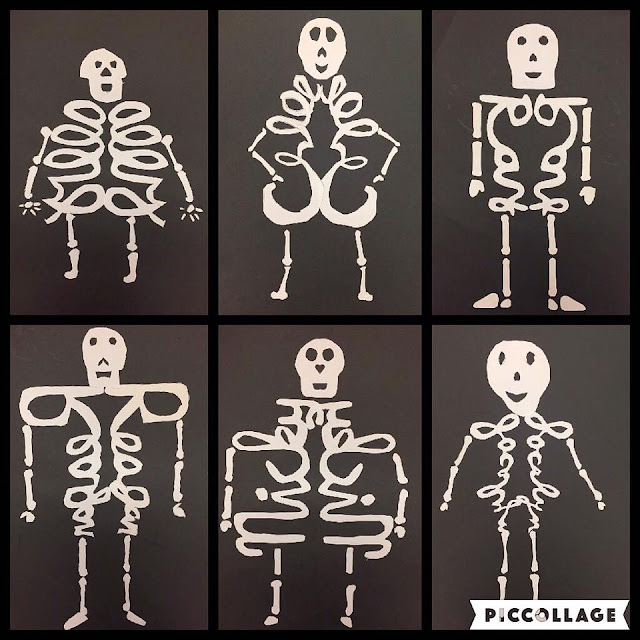
I saw this project on the Pinterest and decided to give it a go. Let me start out by saying, it was very challenging for some students. Luckily, with a lot of one on one help, we got it all done! We talked about symmetry for this lesson as well as positive and negative space. To create symmetry for the skeleton's ribcage, students had to write their name in bubble letter-cursive on a folded sheet of paper. I gave them cursive alphabet sheets as a guide and we spent a good 2 days getting this part done. Students struggled with writing their letters too skinny of small so I really had to emphasize that these were to be thick bones for our skeleton. The next job was to cut out their name with the paper still folded, so that would have two pieces. Again, this was very tricky for some because it was such intricate cutting work. I had to help some kids cut the circles out from some of their letters. They then glued down both their names in the center of a big black sheet of paper, making sure that the same letter was touching. Some names are read from the top to bottom and some read from the bottom up. The last class period was used to cut out the skull, arms, legs, hands and feet. Some students opted for the mitten hands and some took it a step farther and made individual fingers. I know the kids were relieved to be done but extremely proud of their work.


No comments:
Post a Comment